Enable Proxmox installation debugger

Enable Proxmox installation debugger

Get Social!

Although installations of Proxmox usually go smoothly, sometimes you may have problems detecting storage arrays or other hardware. By default the installer doesn’t give much away about any problems, so in the event of a problem you need to enable debugging.

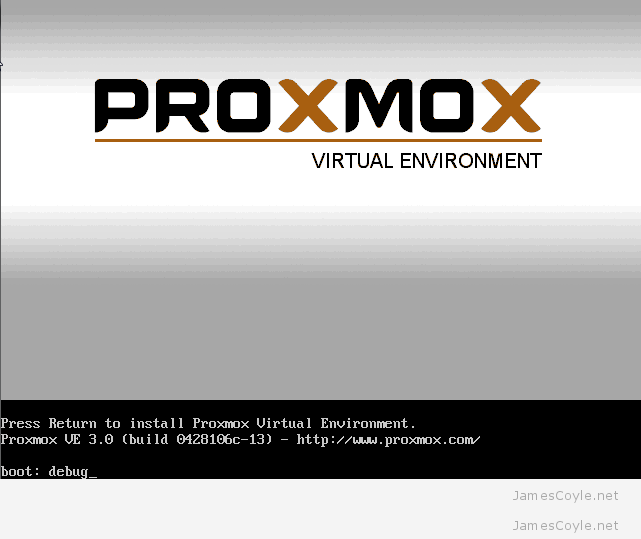
To enable debugging, you will need to type debug at the installation boot menu.

Proxmox boot install screen debug

You can mix this with other arguments to over ride the defaults. See Advanced install settings for more information.

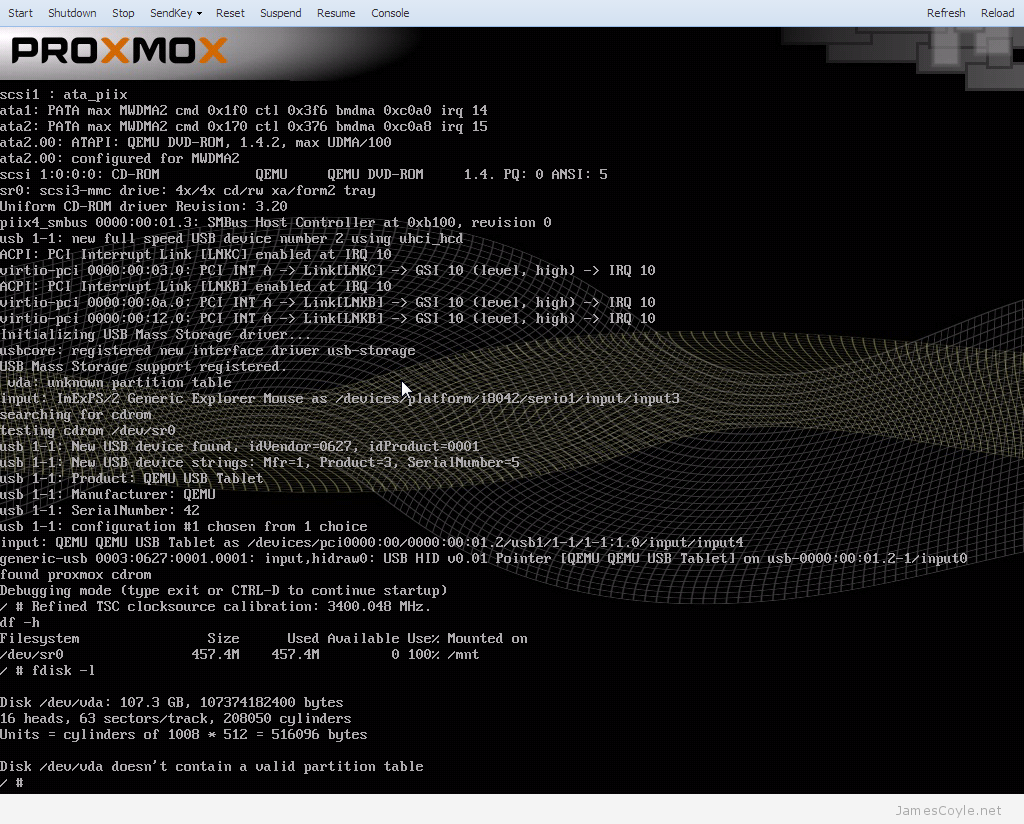
You will then be taken to a console where you can run any pre diagnostic commands. Press CTRL + D to continue the installation once you have finished with the terminal. If the installer errors, click Abort to return to a console.

Proxmox boot install screen debug console


Proxmox advanced install settings

Get Social!

proxmox logo gradInstalling Proxmox is quick and easy – the installer GUI takes care of everything, such as installing the correct packages and partitioning the root hard disk.

You can download Proxmox from the Proxmox download page as an ISO which you will need to boot your server from.

See my  Install guide blog post for the basics on installing Proxmox.

On more advanced installs, there may be a need to override some of these options. For example, you may want to specify how much swap space is created, or the size of the root partition. On one of my installs using a 120GB disk as the install device, 28GB is used for my root (/) partition on a default install. As I only run the basic, required packages on the host this size is far too large. With larger disks the problem gets worse.

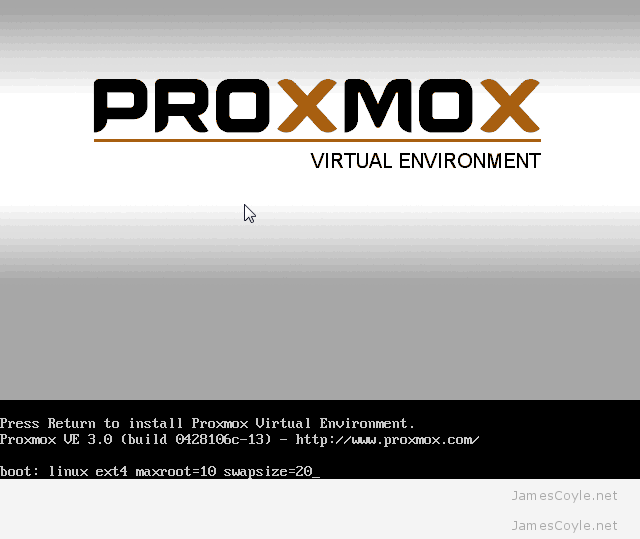
When installing proxmox, the first screen of the installer is the Boot menu. At this prompt, we can specify arguments to override the defaults.

Proxmox boot install screen

The above example linux ext4 maxroot=10 swapsize=20 sets the partition format to ext4 (ext3 is the default), creates a root partition of 10GB providing the disk is large enough and swapsize of 20GB.

The options available at the boot menu are:

  • linux ext4 – sets the partition format to ext4. The default is ext3.
  • hdsize=nGB – this sets the total amount of hard disk to use for the Proxmox installation. This should be smaller than your disk size.
  • maxroot=nGB – sets the maximum size to use for the root partition. This is the max size so if the disk is too small, the partition may be smaller than this.
  • swapsize=nGB – sets the swap partition size in gigabytes.
  • maxvz-nGB – sets the maximum size in gigabytes that the data partition will be. Again, this is similar to maxroot and the final partition size may be smaller.
  • minfree=nGB – sets the amount of free space to remain on the disk after the Proxmox instillation.

Proxmox 3.0 RC2 is now available!

Get Social!

Proxmox 3.0 RC2 has been released for download. Whilst is is not supported or recommended for production, it’s a good idea to get to grips with the new features and feed any bugs back to the Proxmox team.

You can download the ISO from http://www.proxmox.com/downloads/proxmox-ve/17-iso-images

Highlights of the 3.0 release:

  • Based on Debian 7.0 (Wheezy)
  • new VM clone feature
  • new event driven API server (pveproxy)
    • completely replace apache2
    • efficient support for HTTP keep-alive
  • support bootlogd (boot log can be viewed on the GUI)
  • update qemu-kvm to 1.4.1

For more information, check out the forum thread: http://forum.proxmox.com/threads/13815-Proxmox-VE-3-0-RC2-released!


Proxmox VE 1.x is now End of Life (EoL)

Get Social!

proxmox_logoVersion 1.x of Proxmox VE is now end of life. This means that Proxmox will no longer be supported, bugs will not be fixed and security fixes will not be released. You will still receive the standard rift of Debian 6 patches and updates from the Debian repositories.

If you are still on version 1.x of Proxmox VE you should upgrade to Proxmox 2.2 as soon as possible. See the official Proxmox wiki on upgrading.

http://pve.proxmox.com/wiki/Upgrade_from_1.9_to_2.0

See our blog post on installing Proxmox 2 – Yes, I know it’s version 2.1 but, the steps are the same for Proxmox 2.2.


WordPress and OpenSearchServer

Get Social!

OpenSearchServer is an open source website crawler and query engine to provide advanced search capabilities to your website.

Onced you have installed OpenSearchServer you simply add an index, specify a URL to begin crawling and you website will be indexed and available to search.

WordPress has a pluginwhich integrates OpenSearchServer and replaces the existing search box to serve search queries directly to your OpenSearchServer instance. The pluginsite is available here.

Configure OpenSearchServer Search plugin

Login to your WordPress admin site and click Add New under Plugins. Search for opensearchserver and click Install Now.

Once you have the plugin installed, click Activate to enable the plugin.

You will then need to configure the OpenSearchServer plugin. The configuration page is under Plugins, then OpenSearchServer. Under Instance settings fill in your OpenSearchServer details.

  • : is the URL which points to your OpenSearchServer installation. Example: http://search.jamescoyle.net:8080/
  • The index name you created on your OpenSearchServer to hold the search database for your WordPress site.
  • : Authentication username for your OpenSearchServer.
  • : Authentication API key for your OpenSearchServer.
Click Update Settings once you have entered the details.

For better search results, I would recommend using the following code under :

title:($$)^10 OR title:("$$")^10 OR
titleExact:($$)^10 OR titleExact:("$$")^10 OR
titlePhonetic:($$)^10 OR titlePhonetic:("$$")^10 OR
url:($$)^5 OR url:("$$")^5 OR
urlSplit:($$)^5 OR urlSplit:("$$")^5 OR
urlExact:($$)^5 OR urlExact:("$$")^5 OR
urlPhonetic:($$)^5 OR urlPhonetic:("$$")^5 OR
content:($$) OR content:("$$") OR
contentExact:($$) OR contentExact:("$$") OR
contentPhonetic:($$) OR contentPhonetic:("$$")

Click Update Options once you have finished.

Your Search box is replaced as soon as you activate the OpenSearchServer plugin. You will need to make sure your Search box is available on your site.

Your search queries will now be served from your local search server!


Install Proxmox

Category : How-to

Get Social!

What is Proxmox?proxmox logo grad

Proxmox is a hypervisor which can host hardware virtualized virtual machines as well as OpenVZ containers. See the OpenVZ wiki for more information on containers and how they differ to the hardware virtualisation environments.

Compare Proxmox against other Hypervisors: http://www.proxmox.com/products/proxmox-ve/comparison

System Requirements

Recommended

  • Dual or Quad Socket Server (Quad/Six/Hexa Core CPUs)
  • CPU: 64bit (Intel EMT64 or AMD64)
  • Intel VT/AMD-V capable CPU/Mainboard (for KVM Full Virtualization support)
  • 8 GB RAM is good, more is better (grab as much as possible)
  • Hardware RAID with batteries protected write cache (BBU) or flash protection
  • Fast hard drives, best results with 15k rpm SAS, Raid10
  • Two Gbit NIC (for bonding), additional NIC´s depending on the preferred storage technology and cluster setup
  • Fencing hardware (only needed for HA)

Minimum (for testing)

  • CPU: 64bit (Intel EMT64 or AMD64)
  • Intel VT/AMD-V capable CPU/Mainboard (for KVM Full Virtualization support)
  • Minimum 1 GB RAM
  • Hard drive 10 GB
  • One NIC

Download Proxmox

Use the below URL to find and download the latest version of Proxmox ISO. You will then need to burn the ISO to a blank CD or DVD.

http://www.proxmox.com/downloads/category/iso-images-pve

Install Proxmox

Make sure the CD Rom is in the CD tray and turn on your computer. You must have the CD Rom as one of the first bootable devices which can be set in your BIOS.

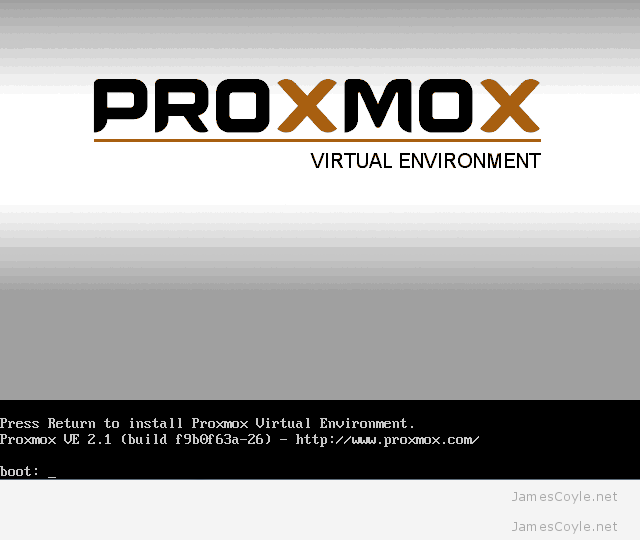
When the installation CD loads, you will be presented with the below screen. Press Return to begin loading the installer.
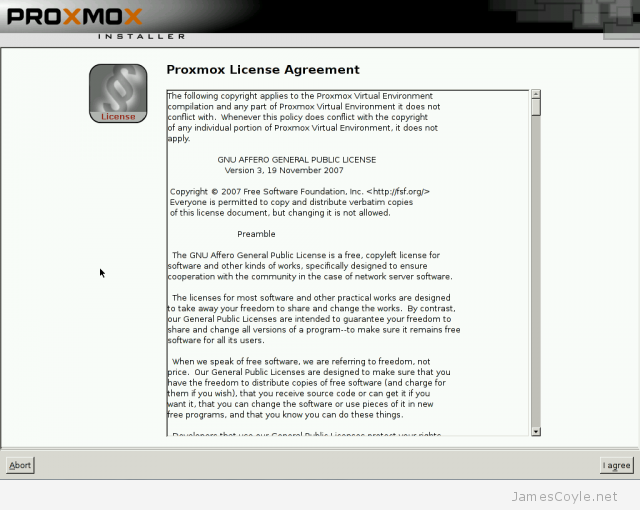
The next screen is the License Agreement. Click on Accept to continue.
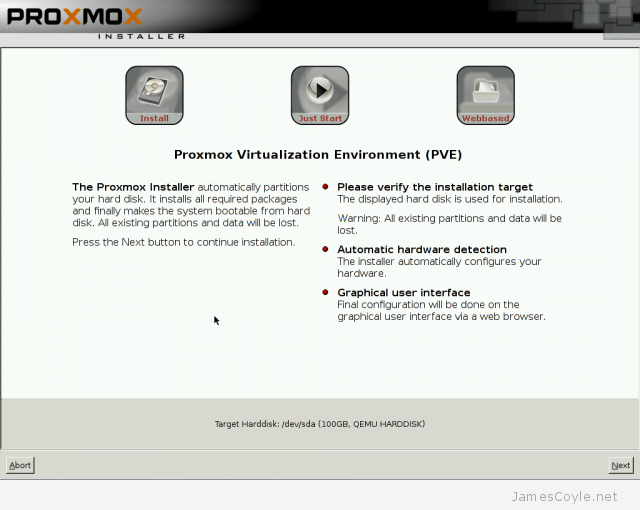
If you only have one hard disk in your machine, simply click Next at the below screen.
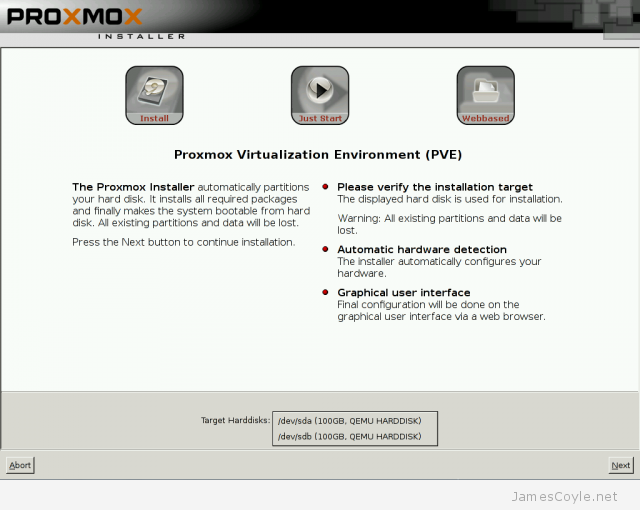
If you have more than one disk, select the disk to install Proxmox to and click Next.
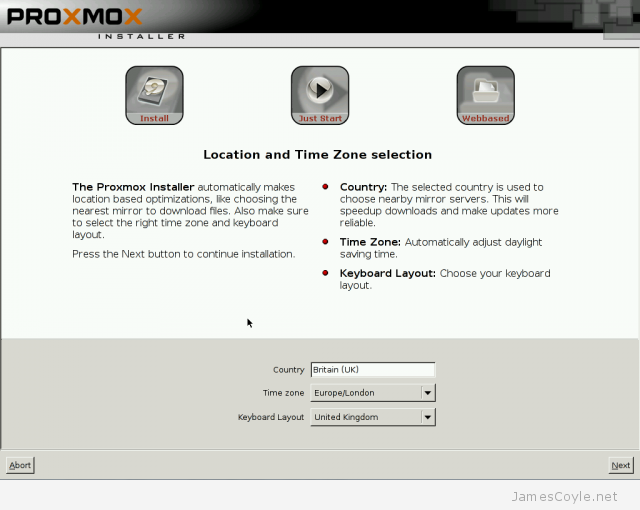
Enter your Country which should set your Time zone and Keyboard layout to match. Then click Next.
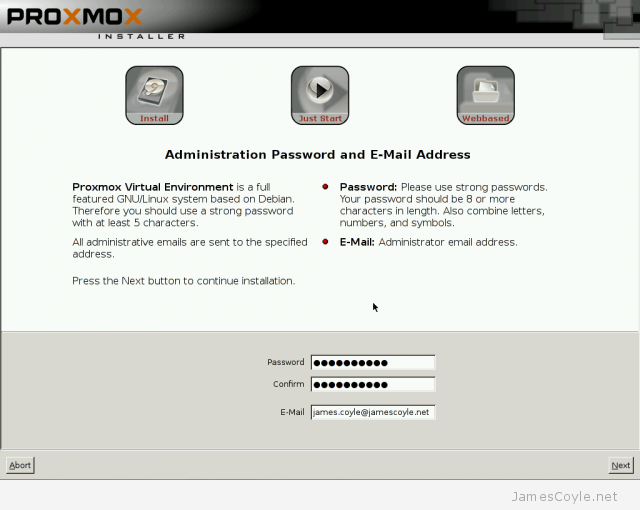
Enter a Password for the root account and E-Mail. Then click Next.
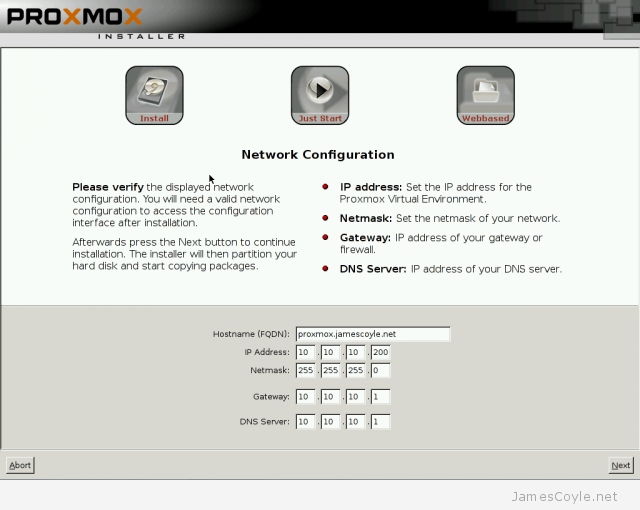
Enter the Hostname (FQDN) for the proxmox server as well as the IP AddressNetmaskGateway and DNS Server. If you have DHCP on your network, these settings will be filled in with values from the DHCP server.
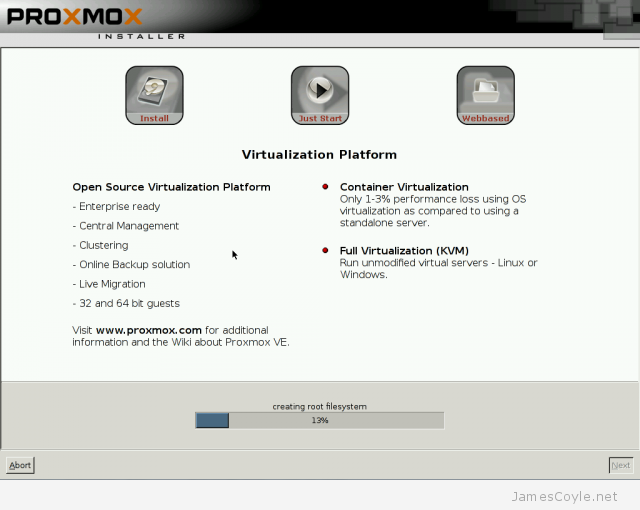
Click Next to begin installing Proxmox.
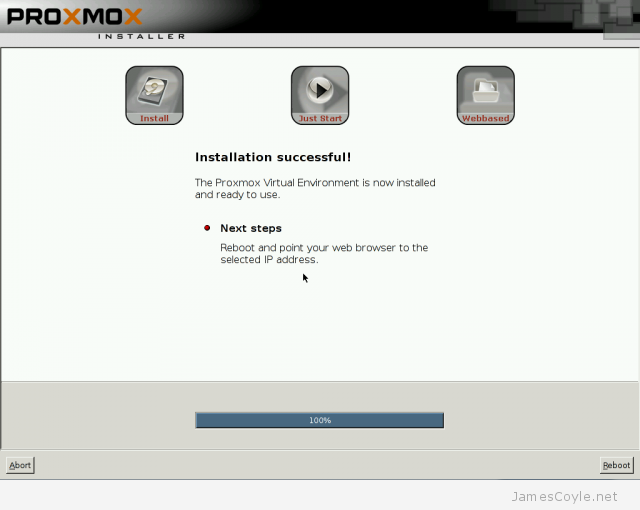
When the install completes, click Reboot to restart your machine and complete your Proxmox install.
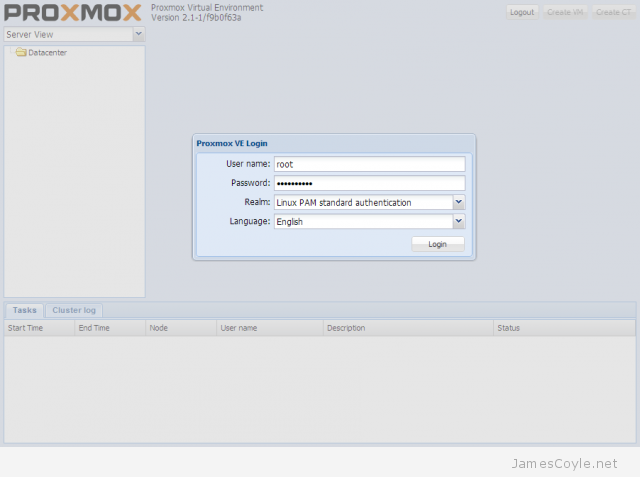
When your server has rebooted you will be sent to the login screen. Here you can use the account root and the password you entered during the installation.
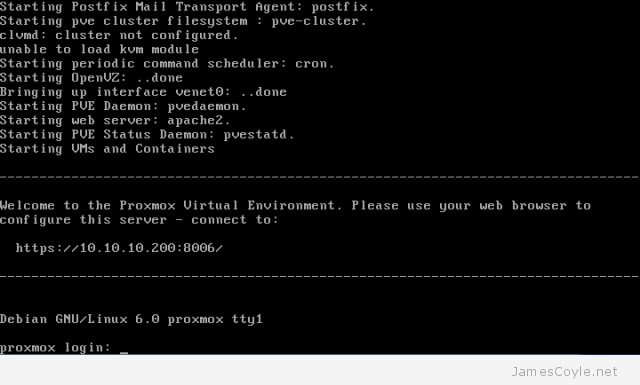
Congratulations – your Proxmox server is ready to use. You can access the web interface using the IP address you entered during the installation, https and port 8006.

Example: https://10.10.10.200:8006/


Visit our advertisers

Quick Poll

Do you use GlusterFS in your workplace?

Visit our advertisers