Create a Virtual IP Address in Linux
Category : How-to
 This post will detail how to set ip a virtual IP address and assign an interface to handle the traffic in the Linux OS. This may not work for all Linux distros but it should be accurate for most.
Run the ifconfig command to see what interfaces are available.
ifconfig
Run the ifconfig command again, however this time create a VIP using the following syntax.
ifconfig [INTERFACE] [IP_ADDRESS] netmask [NETMASK]
Example:
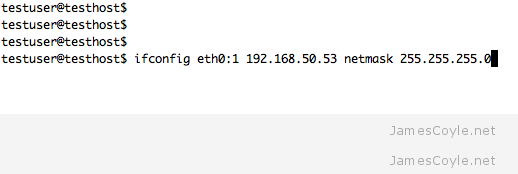
ifconfig eth0:1 192.168.50.53 netmask 255.255.255.0
Substitute INTERFACE = the interface which this VIP will be based on, IP_ADDRESS = the new VIP IP address (note: this must exist) and NETMASK = the netmask of the new VIP.
Update the routing table using arping.
arping -q -U -c 3 -I [INTERFACE] [VIP_IP_ADDRESS]
Example:
arping -q -U -c 3 -I eth0 192.168.50.51
Substitute INTERFACE with the interface to bind this VIP to and VIP_IP_ADDRESS to the VIP IP address which was assigned in the above ifconfig statement.
Note: changes made will be lost when the machine is rebooted.
See this blog post to see how to make a permanent virtual IP address.
2 Comments
Ganesh
18-Sep-2014 at 7:24 pmvery very useful info, thank you Sir, you saved my time.
Steve Garcia
2-Jan-2015 at 5:31 pmI’ve noticed (on Gentoo anyway) that although you can create a virtual IP with ifconfig, it does not appear that ifconfig will display that virtual. It used to, but now it acts like your primary address is the only one. The new address goes into effect, but is invisible (using ifconfig.)
iproute2 *does* display the address you just created, so use `ip add` to confirm it was successful.