Install Proxmox
Category : How-to
What is Proxmox?
Proxmox is a hypervisor which can host hardware virtualized virtual machines as well as OpenVZ containers. See the OpenVZ wiki for more information on containers and how they differ to the hardware virtualisation environments.
Compare Proxmox against other Hypervisors: http://www.proxmox.com/products/proxmox-ve/comparison
System Requirements
Recommended
- Dual or Quad Socket Server (Quad/Six/Hexa Core CPUs)
- CPU: 64bit (Intel EMT64 or AMD64)
- Intel VT/AMD-V capable CPU/Mainboard (for KVM Full Virtualization support)
- 8 GB RAM is good, more is better (grab as much as possible)
- Hardware RAID with batteries protected write cache (BBU) or flash protection
- Fast hard drives, best results with 15k rpm SAS, Raid10
- Two Gbit NIC (for bonding), additional NIC´s depending on the preferred storage technology and cluster setup
- Fencing hardware (only needed for HA)
Minimum (for testing)
- CPU: 64bit (Intel EMT64 or AMD64)
- Intel VT/AMD-V capable CPU/Mainboard (for KVM Full Virtualization support)
- Minimum 1 GB RAM
- Hard drive 10 GB
- One NIC
Download Proxmox
Use the below URL to find and download the latest version of Proxmox ISO. You will then need to burn the ISO to a blank CD or DVD.
http://www.proxmox.com/downloads/category/iso-images-pve
Install Proxmox
Make sure the CD Rom is in the CD tray and turn on your computer. You must have the CD Rom as one of the first bootable devices which can be set in your BIOS.
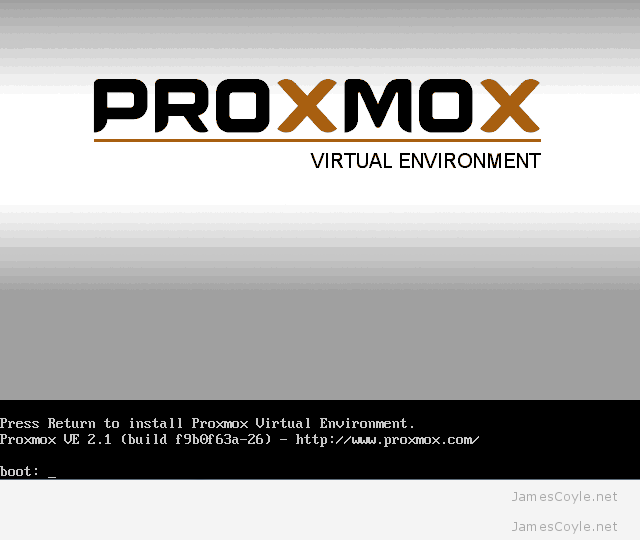
When the installation CD loads, you will be presented with the below screen. Press Return to begin loading the installer.
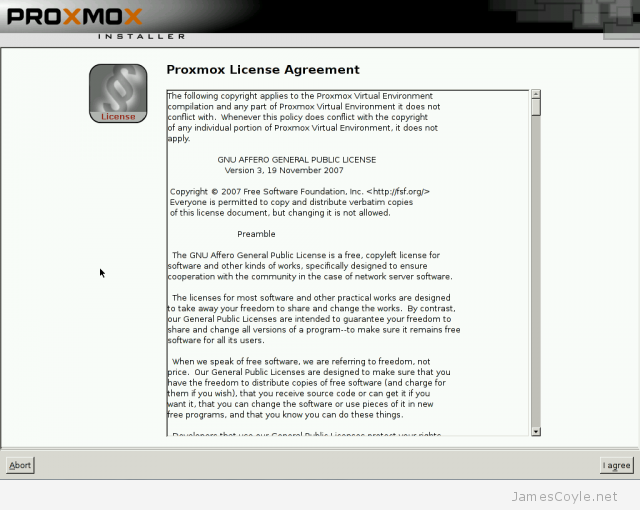
The next screen is the License Agreement. Click on Accept to continue.
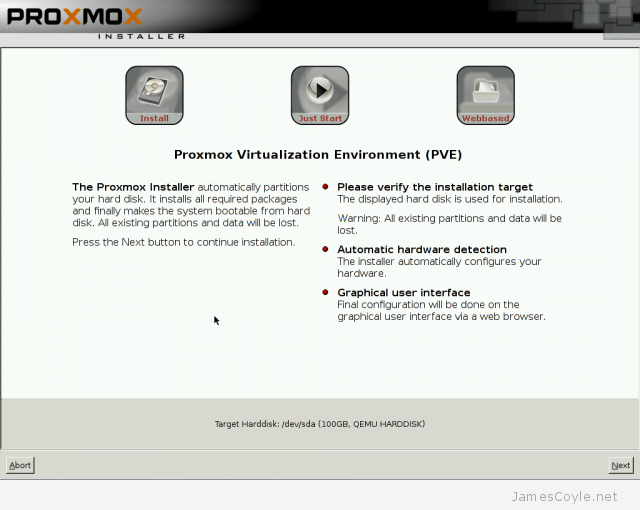
If you only have one hard disk in your machine, simply click Next at the below screen.
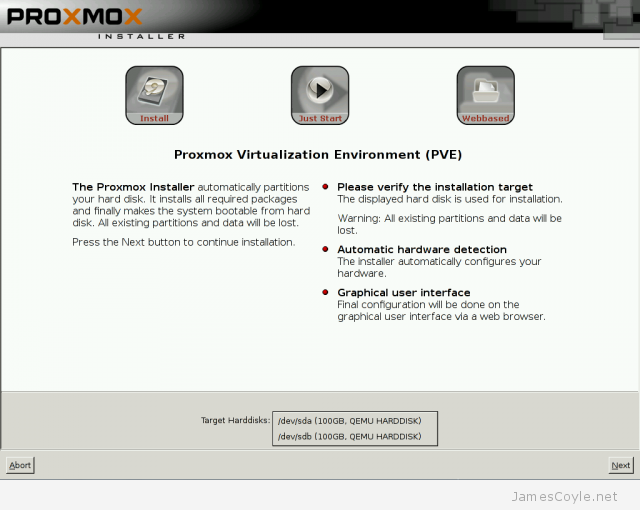
If you have more than one disk, select the disk to install Proxmox to and click Next.
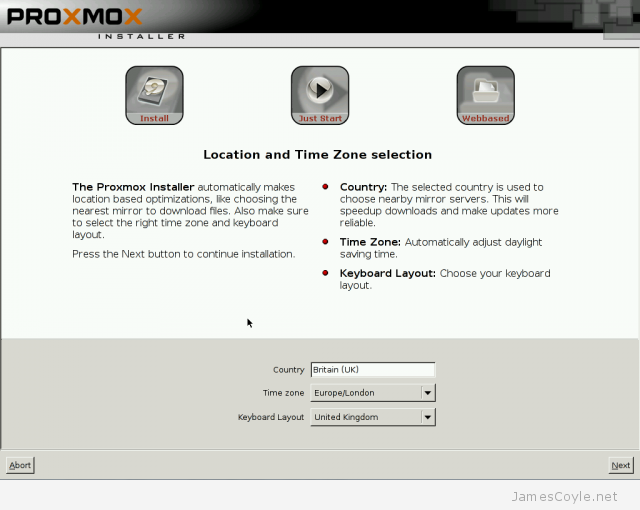
Enter your Country which should set your Time zone and Keyboard layout to match. Then click Next.
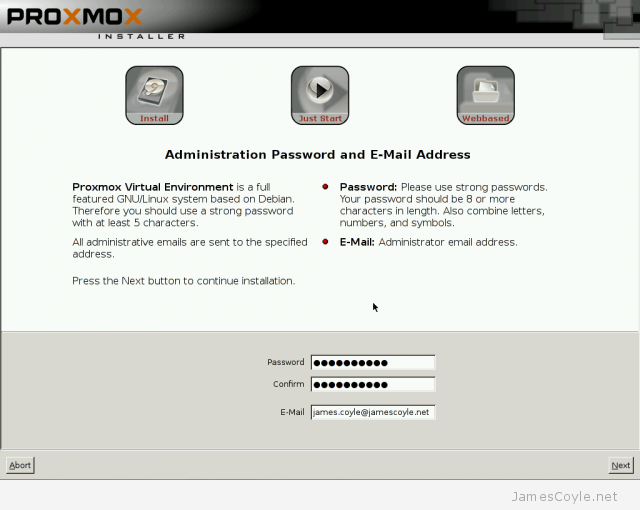
Enter a Password for the root account and E-Mail. Then click Next.
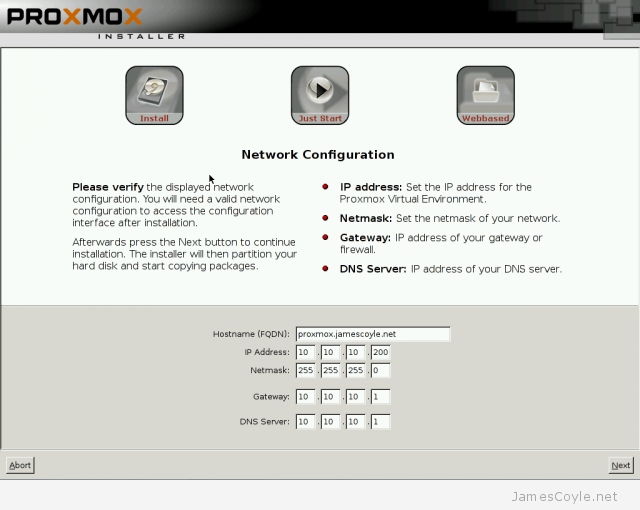
Enter the Hostname (FQDN) for the proxmox server as well as the IP Address, Netmask, Gateway and DNS Server. If you have DHCP on your network, these settings will be filled in with values from the DHCP server.
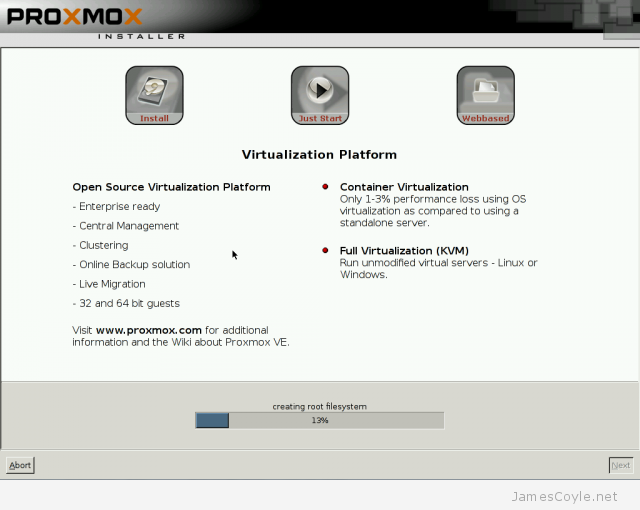
Click Next to begin installing Proxmox.
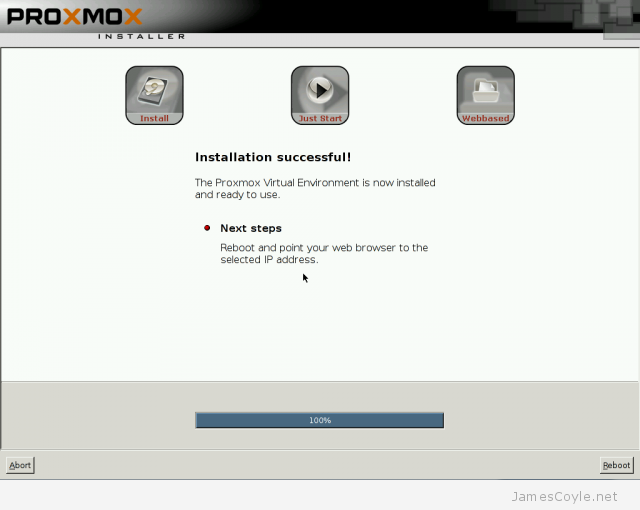
When the install completes, click Reboot to restart your machine and complete your Proxmox install.
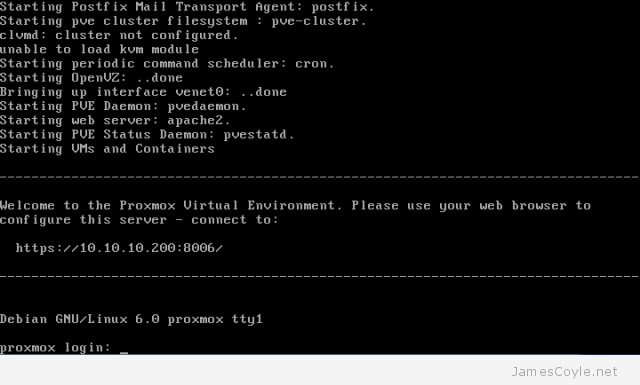
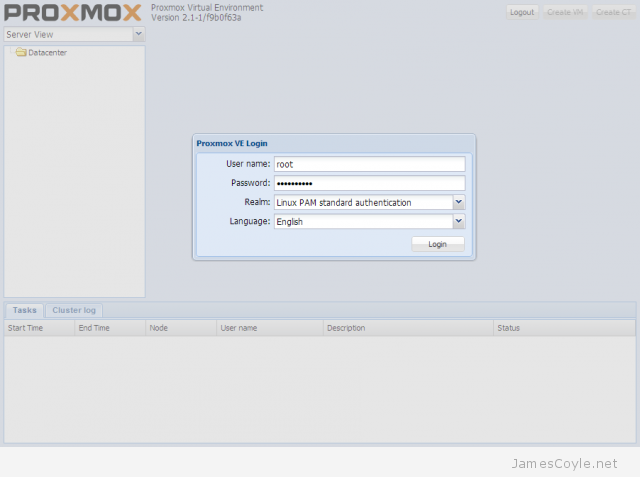
When your server has rebooted you will be sent to the login screen. Here you can use the account root and the password you entered during the installation.
Congratulations – your Proxmox server is ready to use. You can access the web interface using the IP address you entered during the installation, https and port 8006.
Example: https://10.10.10.200:8006/
2 Comments
rai
27-Apr-2017 at 3:59 amthx for tutorial james^ it help alot
1 question
how do i access web interfaces from public ip?it seems i cant access it..
Vinod Menon
21-Nov-2018 at 12:04 amHi James,
I have a AMD Phenom X3 BE processoe coupled with 8Gb of RAM
The Hard drives are a 120Gb SSD and 1Tb WD Blue. I was thingking of adding a 500Gb SSD to the fray.
How do I go about installing latest Proxmox on the drives so I can have multiple VM’s?
What do I need to configure in order to be able to access the system externally?
I know its port forwarding, but I plan to use a POE network device
I’d appreciate your advise please. Thank You